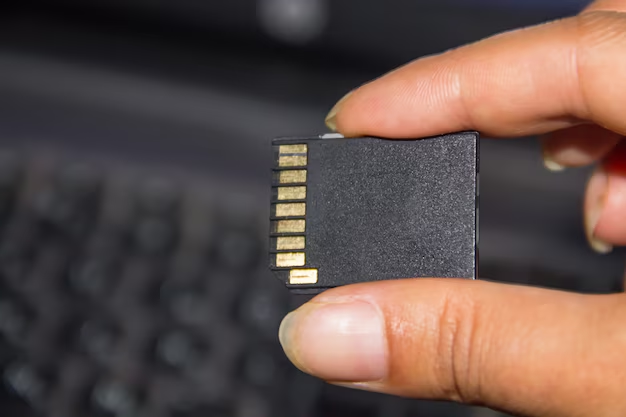
Effortlessly Transfer Your Modded 3DS Data to a New SD Card: A Comprehensive Guide
If you're a proud owner of a modded 3DS, you likely understand the importance of keeping your game data and modifications intact. However, as the digital library grows, you might find your current SD card running out of space, prompting the need for a larger one. But worry not! Transferring your modded 3DS data to a new SD card is a straightforward process when approached correctly. Today, we’ll walk you through this process step-by-step, ensuring your transition is smooth and stress-free.
Why Upgrade Your SD Card?
Before diving into the 'how,' let's explore the 'why.'
More Room for Games and Mods
Benefits of a Larger SD Card:
- Expanded Storage: As games and mods become larger, a bigger card accommodates more without frequent deletions.
- Ease of Management: Everything in one place, with less need to constantly shuffle files around.
- Improved Performance: Often, an upgraded SD card provides faster read/write speeds, benefiting load times and overall performance.
Safeguard Your Data
Security Matters:
- Backup Opportunities: Regular backups ensure your prized game progress isn’t lost during unforeseen data corruption.
- Future-Proofing: As modding evolves, future modifications might require additional storage space.
H2: Preparing for the Transfer
Preparation is key to a seamless transfer. Here's what you need before you start:
- New SD Card: Ensure your new SD card is of high quality and adequately sized.
- A Computer with an SD Card Slot or Reader: You'll transfer the data via a computer.
- Reliable Backup Software: Optional but recommended for an extra layer of security.
Back Up Your Current Data
Before proceeding with the transfer, it’s vital to back up your data to avoid any loss.
H3: Step-by-Step Backup Guide
- Insert Old SD Card into Computer: Use an SD card slot or a card reader.
- Copy the Data: Navigate to your SD card folder on your computer.
- Select All Files: Use Ctrl+A (Cmd+A on Mac) and copy them.
- Paste to a Backup Location on Your Computer: This can be an external drive or a dedicated folder on your desktop.
📝 Pro Tip: Ensure your backup location has enough storage space!
H2: Transferring Your Data to the New SD Card
Once backed up, it's time to transfer your data to the new SD card.
Formatting the New SD Card
Why Formatting Matters:
- Correct File Allocation: Ensures compatibility with your 3DS.
- Clean Slate: Erases pre-existing data that might cause conflicts.
H3: Formatting Steps
- Insert New SD Card into Computer.
- Access the SD Card: Open file explorer and find your new SD card.
- Right-click and Select 'Format': For Windows, choose FAT32 format; Mac users should use Disk Utility to select MS-DOS (FAT).
- Start the Format Process.
⚠️ Important: Double-check you’ve selected the correct drive to prevent accidental formatting of essential data!
Copying Files to the New SD Card
Now that your new SD card is formatted, it's time to copy the data.
- Insert New SD Card into Computer.
- Open Backup Location on Computer.
- Copy All Files: Select and copy all your files.
- Paste Them to the New SD Card: Ensure all files are fully transferred.
⏱️ Pro Tip: This process might take a few minutes depending on the data size. Avoid interrupting it.
H2: Ensuring a Successful Transfer
After transferring, it's vital to ensure everything works smoothly before applying further modifications.
Verifying the Data
Steps to Verify:
- Eject the SD Card from the Computer:
- Safely eject using the operating system's safe removal method.
- Insert SD Card into 3DS:
- Power On the 3DS:
- Check if all games and mods load correctly.
- Verify Game Saves and Mod Integrity:
- Open several apps to ensure no data corruption occurred.
🔄 Troubleshooting: If issues arise, reinsert the SD card into your computer and compare file sizes and structures with your backup. Repeat the transfer if necessary.
H2: Expanding Your 3DS Experience with a New SD Card
With additional space available, consider expanding your 3DS experience further.
Potential Enhancements
- Add New Mods: Leverage extra space for fresh mod installations.
- Download More Games: Browse and download additional titles from the eShop.
- Install Homebrew Applications: Explore enhanced capabilities beyond standard offerings.
H2: Future-Proofing Your 3DS Storage
Consider These Tips to Keep Things Smooth:
- Regular Backups: Schedule monthly backups of your entire SD card.
- Stay Updated: Keep an eye on community forums for new mods or system updates.
Summary: Key Steps for a Stress-Free SD Card Transfer
Here's a quick roundup to ensure you haven't missed anything:
- 🗂️ Backup Essential Data: Before starting, back up all files to a secure location.
- 💾 Format the New SD Card: Make sure it's correctly formatted for 3DS use.
- 🔀 Transfer Files: Carefully copy all data to the new SD card.
- ✅ Verify Functionality: Test the new setup to ensure smooth operation.
- 🎮 Expand and Explore: Enjoy the new space by adding games or mods.
Upgrading your SD card shouldn't be a daunting task, and with this guide, you're better equipped to manage your 3DS resources efficiently. Happy gaming!

Related Topics
- How Do You Transfer a Car Title To Someone Else
- How Long Does It Take To Transfer a Car Title
- How Much Does It Cost To Transfer a Car Title
- How Much Does It Cost To Transfer Title In Florida
- How Much Is It To Transfer a Title
- How Much Is It To Transfer a Title In Florida
- How Much Is It To Transfer a Title In Illinois
- How Much Is To Transfer a Car Title
- How Much To Transfer Car Title
- How Much To Transfer Title In Illinois
