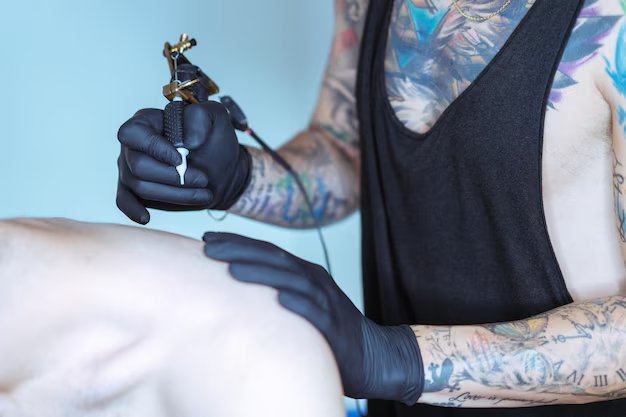
Mastering the Art of Tattoo Transfer Paper: A Comprehensive Guide
Whether you're a blossoming tattoo artist or a DIY enthusiast eager to try your hand at body art, understanding how to use transfer paper for tattoos is crucial. Transfer paper acts as the blueprint for your tattoo, guiding the needle to replicate the design with precision. Let’s dive into the essentials of using transfer paper and ensure your tattooing process is smooth, efficient, and satisfying.
What Is Tattoo Transfer Paper?
Tattoo transfer paper is a must-have tool in the tattooing toolkit. At its core, it facilitates the transfer of your chosen design from paper to skin, acting as a stencil for the tattooing process.
Components of Tattoo Transfer Paper
- Transfer Layer: This layer contains the actual ink or carbon that is transferred onto the skin.
- Protective Sheet: It’s a lightweight sheet that protects the transfer layer before use.
- Back Sheet: Usually a thicker paper that supports the sheet and keeps it in place during the process.
Why Use Transfer Paper?
Using transfer paper before tattooing ensures:
- Precision: Achieve intricate designs with ease.
- Time Efficiency: Reduce the time spent manually drawing on the skin.
- Repeatability: Easily replicate the same design multiple times.
- Customer Approval: Allows the client to see the design on their skin before committing.
Different Types of Tattoo Transfer Paper
Thermal Transfer Paper
Frequently used with a thermal printer, this type creates highly detailed transfers. Perfect for professionals requiring sharp and precise designs.
Freehand Transfer Paper
Ideal for those who prefer drawing designs directly. This type allows artists to sketch directly onto the transfer paper, which is then applied to the skin.
Step-by-Step: Using Tattoo Transfer Paper
Gathering Your Materials
Before starting, make sure you have:
- Tattoo transfer paper
- A design or stencil
- Thermographic machine (if using thermal paper)
- Razor for skin preparation
- Transfer solution or soap
- Disposable gloves
Preparing the Design
- Select the Design: Choose a design that fits appropriately on the intended body part.
- Printing or Drawing: Print the design using a thermal printer (for thermal paper) or sketch it with a pen if using freehand paper.
Skin Preparation
- Clean the Area: Use a disinfectant to cleanse the skin.
- Shave the Area: This ensures the transfer sticks accurately and reduces irritation.
- Apply Transfer Solution: Dab a small amount where the design will go to ensure proper adhesion.
Transferring the Design
- Align the Design: Carefully place the transfer paper on the skin, ensuring proper alignment.
- Apply Pressure: Gently but firmly press down on the paper.
- Peel Back Slowly: Remove the paper carefully to ensure the design has transferred without smudging.
Troubleshooting Common Issues
Design Smudging
- Cause: Excess moisture or misalignment during transfer.
- Solution: Ensure skin is dry and the paper is applied with steady pressure.
Faded Transfer
- Cause: Insufficient pressure or outdated paper.
- Solution: Ensure full contact between paper and skin, and use fresh paper.
Maintaining Transfer Quality
Tips for Perfect Transfers
- Use Quality Transfer Paper: Invest in reputable brands for best results.
- Test on Practice Skin: Before working on real skin, practice on synthetic skin.
- Consider Environmental Factors: Work in a stable environment to avoid unnecessary moisture.
Beyond the Basics: Creative Uses
Custom Temporary Tattoos
Transfer paper isn’t just for permanent tattoos. Use it for fun, temporary designs using henna or body paint.
Art Projects and Crafts
Ideal for transferring intricate designs to other mediums like wood or fabric in DIY projects.
Safety and Hygiene
Keeping It Clean
- Disposable Tools: Always use gloves and sterilize your workspace.
- Skin Testing: Before applying the full design, do a patch test to ensure no allergic reactions.
Key Takeaways ⭐
- Prep is Key: Start with a clean, shaven, and dry area for best results.
- Quality Matters: Choose high-quality transfer paper for clearer, more reliable transfers.
- Practice: Use practice skins to perfect your technique before moving onto people.
- Be Creative: Explore beyond traditional tattoos—transfer paper can complement other crafts.
🔍 Quick Tips Recap:
- Choose the right type of transfer paper for your needs.
- Follow a methodical approach: clean, align, press, peel.
- Address common issues like smudging and fading with care.
- Practice and creativity enhance both skill and art form.
Tattoo transfer paper is an invaluable tool in the tattooing world, enabling artists to bring their intricate designs to life on skin. By understanding its use and nuances, you not only refine your technique but also ensure satisfaction for anyone wearing your art. With these insights, you’re well on your way to mastering tattoo transfer, supporting both your creative journey and professional endeavors.

Related Topics
- How Can I Transfer Data From One Laptop To Another
- How Can I Transfer Domain To Godaddy
- How Can I Transfer My Calls To Another Phone
- How Can I Transfer Pdf To Word
- How Can We Transfer Data From One Laptop To Another
- How Can You Transfer Data From One Phone To Another
- How Can You Transfer Emails From One Account To Another
- How Can You Transfer Vhs Tapes To Dvd
- How Do I Transfer a Prescription From Walgreens To Cvs
- How Do I Transfer Data From Ipad To Ipad