Unlocking the Past: Easy Steps to Transfer Your VHS Tapes to Digital
Do you have a collection of old VHS tapes collecting dust in the attic, just waiting to make a grand reappearance in your entertainment world? With technology galloping ahead, your beloved home videos may seem like relics from another era. But fear not, nostalgia enthusiast! This guide is here to help you convert those precious VHS tapes to digital formats, ensuring that your cherished memories are preserved and easily accessible for years to come. Let's explore how you can digitize your VHS tapes at home without turning it into a complicated project. 📼➡️💻
Why Digitize Your VHS Collection?
Preserving Memories for Future Generations
In the fast-paced digital age, old formats can fade into oblivion. Converting VHS to digital ensures that your family memories withstand the test of time, ready to be passed down to future generations.
Enhancing Accessibility and Convenience
A digital library of past celebrations, vacations, and everyday moments allows for quick browsing and sharing. You can enjoy your memories on your computer, smartphone, or even your smart TV.
Protecting Against Degradation
VHS tapes are prone to degradation over time due to magnetic decay and environmental conditions. Digitizing your collection now protects against these natural deteriorations.
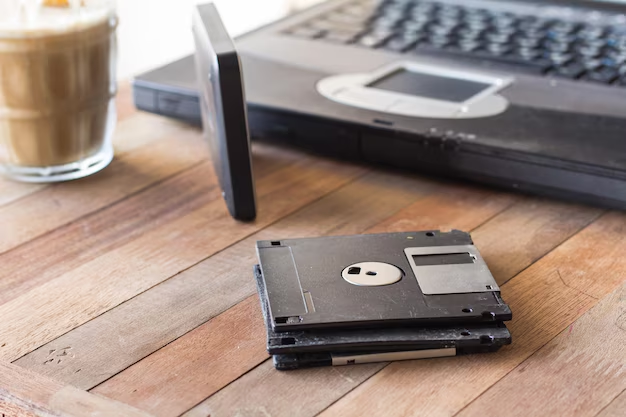
Essential Tools for a Successful Conversion
Here's what you'll need to get started on your VHS-to-digital project:
- VHS Player: Essential for playing the tapes to transfer the video.
- Video Capture Device: Connects your VHS player to your computer, allowing you to record the video.
- Computer with Video Recording Software: A device to manage the input from your video capture device, making sure you have adequate storage space for larger files.
- Cables: Usually RCA cables (red, white, and yellow) to connect your VHS player to the capture device.
- Blank DVDs or External Hard Drives: Optional for backing up files and organizing your digital content.
Step-by-Step Guide to Transferring VHS to Digital
Step 1: Setup Your Workspace
Ensure you have a dedicated space with all equipment within reach. This includes your computer, VHS player, and video capture device. Make sure the area is well-organized to prevent tangles of cables and potential damage to your equipment.
Step 2: Connect Your Devices
Using the RCA cables, connect the VHS player to the video capture device. Then, connect the capture device to your computer via USB. This setup makes it possible for the computer to receive the video signal directly from the VHS player.
Step 3: Install and Set Up Software
Choose a video capture software that's compatible with your operating system. Popular choices include OBS Studio or specific software that may come with your capture device. Follow the instructions to install the software, and adjust the settings to optimize video quality and file format preferences.
Step 4: Begin the Transfer Process
Insert the VHS tape you wish to digitize into the player. Open the recording software on your computer and start a new project. Press "Play" on the VHS player, then simultaneously hit the "Record" button in your software to start digitizing. This real-time process will take as long as the video itself.
Step 5: Edit and Save Your Digital Video
Once the recording is complete, you can make basic edits using your software. Trim unnecessary parts, enhance video quality, and adjust audio levels if needed. Finally, save the video in a format that suits your storage and playback needs, such as MP4 for a balance of quality and compatibility.
Exciting Extras: Advanced Options and Tips
Consider Using Professional Services
If DIY isn't your style or you have a large collection, consider professional conversion services. They can handle bulk orders and often include enhancements like color correction and noise reduction.
Organize with Metadata
As you convert, take the time to label your videos with metadata, such as dates, descriptions, and tags. This organizational step will make future browsing and sharing feel effortless.
Common Challenges and Solutions
Even with a clear plan, challenges can arise during the conversion process. Here’s how to tackle them:
Problem: Poor Video Quality Solution: Ensure your VHS heads are clean, and cables are properly connected. Adjust the settings on your software for better resolution and stability.
Problem: Audio and Video Out of Sync Solution: This could be due to a lag in processing. Ensure your computer’s software is up-to-date, and you have sufficient processing power for the task.
The Joy of Rediscovery: Relive Your Memories
Completing a VHS-to-digital conversion project is not just about preserving videos; it’s about rediscovering cherished moments and sharing them with loved ones. By digitizing your tapes, you’re ensuring that treasured memories stay vibrant and accessible. Whether it's a loved one's last recorded words or a family holiday, these moments are priceless. 💫
Summarized Key Takeaways
Here’s a quick rundown of practical tips to guide you through your VHS to digital journey:
- 🛠️ Essential Setup: VHS player, video capture device, computer with software, cables.
- 🔄 Conversion Process: Set up, connect devices, install software, transfer video, edit and save.
- ⚠️ Avoid Common Issues: Regularly check connections and settings to ensure video and audio quality.
- 🎖️ Professional Options: For large collections, consider professional conversion services to save time and ensure quality.
- 📝 Metadata is Key: Organize your digital library with detailed labels and tags for easy future access.
Preserve the past by bringing your analog memories into the digital realm. This rewarding project allows you to relive, cherish, and share beautiful family moments time and again. Why wait? Let today be the day you start unlocking those treasured tapes, transforming memories from static shelf residents to dynamic digital delights. 💿✨
Related Topics
- How Can I Transfer Data From One Laptop To Another
- How Can I Transfer Domain To Godaddy
- How Can I Transfer My Calls To Another Phone
- How Can I Transfer Pdf To Word
- How Can We Transfer Data From One Laptop To Another
- How Can You Transfer Data From One Phone To Another
- How Can You Transfer Emails From One Account To Another
- How Can You Transfer Vhs Tapes To Dvd
- How Do I Transfer a Prescription From Walgreens To Cvs
- How Do I Transfer Data From Ipad To Ipad