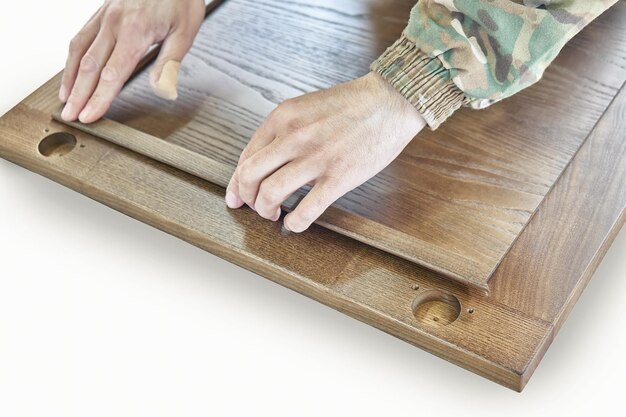
Transform Your Memories: A Step-by-Step Guide to Transferring Pictures to Wood
In an age where digital photos tend to live on screens, there's something magical about bringing images back to tangible form—especially when the medium is a piece of wood. Transferring a picture to wood merges the warmth and texture of natural materials with cherished memories captured in photographs. This guide will walk you through the practical steps to achieve this and share insightful tips along the way, ensuring your project is both successful and rewarding.
Why Transfer Pictures to Wood?
Personalization Meets Artistry: Whether you're keen on crafting a unique gift, or home décor, or simply exploring your creative side, wood picture transfers offer a timeless aesthetic that can’t be replicated by traditional frames.
Durability and Texture: Unlike paper prints that might fade or tear, wood is robust and adds a distinct texture that enhances the photograph, giving it a rustic and vintage feel.
Endless Creativity: From personal pictures to artistic designs, transferring to wood allows for flexibility and creativity. By choosing different types of wood, sizes, and finishes, you can create bespoke pieces tailored to your taste.
Getting Started: What You Need
Before diving in, gather these essential materials to ensure smooth sailing through the project.
Materials and Tools Checklist
- Wood Surface: Ensure it's smooth for a better finish. Popular choices include plywood, pine, or reclaimed wood.
- Photograph or Image: A laser-printed image works best. Inkjet prints can be used, but results may vary.
- Gel Medium: This acts as the adhesive that binds your photo to the wood.
- Mod Podge or Sealant: For a protective finish.
- Paint Brush or Foam Brush: To apply the medium.
- Sponge or Cloth: For removing excess paper and smoothing the image.
- Sandpaper: To prepare the wood surface and add character to the final piece.
- Scissors or Cutting Tools: For trimming the photo to size.
Preparing Your Materials
- Choosing the Right Wood: Different grains and textures will affect the transfer’s look. Sand the wood to a smooth finish if needed, ensuring there's no dust or debris.
- Printing the Image: Opt for a high-contrast image, which tends to transfer better. Remember to reverse the image before printing since the transfer will mirror it.
Step-by-Step: Transferring the Image
1. Prepare the Wood
Begin by sanding the wood if it’s rough. The smoother the surface, the better the photo transfer. Clean away any dust particles using a damp cloth.
2. Apply Gel Medium
Using a paintbrush, apply a generous layer of gel medium to the wood surface. Ensure an even coat for consistent adhesion.
3. Position the Image
Place the image, face down, onto the gel-coated wood while the gel is still wet. Press down firmly, smoothing out any bubbles or wrinkles with a sponge or cloth.
4. Allow to Dry
Patience is key. Let the piece dry for at least 24 hours. This ensures the best transfer and adhesion of the photo onto the wood.
5. Remove the Paper
Dampen the paper with a sponge, then carefully rub away the paper. Work gently to avoid damaging the image itself. The goal is to remove the paper while leaving the ink embedded in the wood.
6. Seal the Transfer
Once you're satisfied with the image quality, apply a coat of Mod Podge or another sealant over the image to protect it. This will enhance the colors and provide a finished shine.
Alternative Techniques and Tips
Using Inkjet Printers
While laser prints are ideal, you can achieve transfers with inkjet printouts using specific mediums like transfer paper or mod podge techniques. However, be prepared for more experimentation and variable results.
Distressing the Image
For a vintage look, distress the image lightly with sandpaper. Remember to go slowly and check frequently to achieve the desired effect without overdoing it.
Finishing Touches
Consider adding elements like wood stains, paint, or even burning designs around the transfer to elevate your wood art.
Quick Tips for Success 📝:
- 🖼️ Test Run: Start with a test piece of wood to practice and perfect your technique.
- 🔍 Image Quality: High-resolution images produce better results.
- 🌿 Eco-Friendly: Opt for reclaimed wood for a more sustainable project.
- 🤲 Handle with Care: When removing paper, gentle pressure is vital to prevent tearing.
Transferring images to wood is a wonderful craft that marries creativity with craftsmanship. It's a skill that, once mastered, offers endless possibilities for personal expression and gift-giving. Whether you’re creating a rustic addition for your home or a heartfelt gift, each piece is bound to be as unique as the memories it holds.
Dive in, experiment, and enjoy the rewarding process of turning simple photos into cherished wooden masterpieces.

Related Topics
- How Can I Transfer Data From One Laptop To Another
- How Can I Transfer Domain To Godaddy
- How Can I Transfer My Calls To Another Phone
- How Can I Transfer Pdf To Word
- How Can We Transfer Data From One Laptop To Another
- How Can You Transfer Data From One Phone To Another
- How Can You Transfer Emails From One Account To Another
- How Can You Transfer Vhs Tapes To Dvd
- How Do I Transfer a Prescription From Walgreens To Cvs
- How Do I Transfer Data From Ipad To Ipad
