Seamless Solutions: Effortlessly Transfer Pictures from Android to PC
In a world saturated with smartphones and digital cameras, capturing memories has never been easier. Yet, many find themselves stumped when faced with transferring those precious pictures from their Android devices to their PC. Whether for backup, editing, or sharing, transferring photos is a necessary skill. Today, we’ll guide you through various methods to ensure your memories make the jump safely and effortlessly.
🛠️ Understanding the Basics
Before diving into specific methods, it's vital to understand the necessity and parameters. Whether you're running out of space on your phone or need to edit your pictures on a larger screen, transferring files is a fundamental task that enhances your device's utility.
Key Takeaways:
- Space Management: Transferring pictures frees up vital storage on your Android device, allowing more room for apps and new photos.
- Backup Essentials: Preserve your memories by maintaining a backup, safeguarding against accidental deletions.
- Editing and Sharing: A PC provides more robust tools for photo editing and wider sharing capabilities.
Method 1: USB Cable Transfer
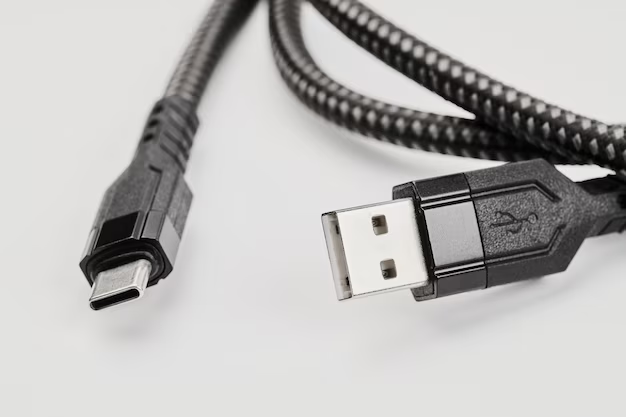
Transferring photos via a USB cable is one of the most direct and reliable methods, perfect for those who prefer a tactile approach.
Steps to Transfer Using USB
- Connect Your Device: Use a USB cable compatible with your phone and PC.
- Select Transfer Protocol: Once connected, swipe down on your phone's notification center and select the USB connection options. Choose “File Transfer” or "MTP" (Media Transfer Protocol).
- Access the Photos: On your PC, open "File Explorer" and locate your device under "Devices and Drives."
- Copy Files: Navigate to the folder containing your photos (often under "DCIM"), select the desired pictures, and copy them to your preferred location on the PC.
Pros & Cons:
- Pros: Simple, no internet required, secure.
- Cons: Requires a USB cable, potentially limited by the cable’s length.
Method 2: Wireless Transfer via Wi-Fi
For those who prefer a cordless method, Wi-Fi transfer apps offer a convenient solution without the hassle of cables.
Popular Apps for Wireless Transfer
- Google Photos: Automatically backs up photos to the cloud. Accessible from any device.
- AirDroid and SHAREit: Apps providing seamless photo transfers over Wi-Fi.
Using Google Photos:
- Install Google Photos on your Android device.
- Enable Back Up & Sync: This ensures your pictures upload to the cloud.
- Access on PC: Log into your Google account on your PC to view and download photos.
Additional Step-by-step for SHAREit:
- Install SHAREit on both the Android device and the PC.
- Connect Devices: Ensure both are on the same Wi-Fi network.
- Select and Send Photos: Open SHAREit on your phone, choose the files to send, and follow prompts to transfer them to your PC.
Pros & Cons:
- Pros: Cable-free, easy to use once setup, useful for multiple file types.
- Cons: Requires both devices to be on the same network, can be slower than wired transfer.
Method 3: Cloud Storage Solutions
For users who value accessing their photos from anywhere, cloud solutions offer a compelling and flexible method.
Popular Cloud Platforms
- Google Drive
- Dropbox
- Microsoft OneDrive
Steps to Transfer Using Google Drive
- Upload Photos: Use the Google Drive app to upload your photos to your account.
- Access Files: Open Google Drive on your PC or via a web browser to download your files.
- Organize and Share: Arrange your photos in folders for easy access and share them with others as needed.
Pros & Cons:
- Pros: Access from anywhere, automatic backup options.
- Cons: Requires internet, may involve subscription for more storage.
Method 4: Bluetooth Transfers
For those without access to USB cables or Wi-Fi, Bluetooth provides a slower but viable option.
Steps for Bluetooth Transfer
- Enable Bluetooth: Turn on Bluetooth on both your Android device and PC.
- Pair Devices: Make sure they find and pair with each other.
- Send Files: Select photos on your phone, choose "Share via Bluetooth," and send them to your PC.
Pros & Cons:
- Pros: No cables needed, good for small batches of photos.
- Cons: Slow speed, not suitable for large batches.
Essential Tips for a Smooth Transfer Experience
- Regular Backups: Schedule regular backups to avoid data loss, particularly if you're using cloud solutions.
- Secure Connections: Always ensure your transfers are secure, especially in public Wi-Fi spots.
- Organize Your Files: Keep your photo library organized to simplify future transfers and edits.
📌 Quick Summary: Transferring Tips
- USB Transfer: Reliable and fast for large files 💾
- Wi-Fi Apps: Convenient for regular transfers 📱
- Cloud Services: Best for accessibility 🌩️
- Bluetooth: Use as a last resort when no other options are available 🔵
Wrapping Up with Confidence
Transferring photos from your Android device to a PC can be straightforward when armed with the right tools and techniques. By understanding the different methods and choosing the one that best fits your lifestyle, you ensure that your digital memories are never more than a click away. With these strategies in hand, you are equipped to handle any photo transfer effortlessly, keeping your precious moments both safe and accessible. 📸✨

Related Topics
- How Can I Transfer a Video From Iphone To Computer
- How Can I Transfer Apps From Iphone To Ipad
- How Can I Transfer Apps From One Iphone To Another
- How Can I Transfer Contacts From Iphone To Iphone
- How Can I Transfer Contacts From One Iphone To Another
- How Can I Transfer Data From Iphone To Android
- How Can I Transfer Data From Iphone To Iphone
- How Can I Transfer Data From Iphone To Samsung
- How Can I Transfer Files From Android To Pc
- How Can I Transfer From Iphone To Samsung