Effortlessly Transfer Photos from Android to PC: A Complete Guide
In today's smartphone-driven world, our Android devices capture priceless moments, from breathtaking sunsets to candid family gatherings. But as storage fills up, the question arises: How do you transfer these precious photos to your PC efficiently and safely? This comprehensive guide will walk you through several simple methods, ensuring your memories are preserved and accessible.
Why Transfer Photos to Your PC?
Transferring photos from your Android device to your PC offers numerous advantages. Storage Management: Clear space on your phone for more photos and apps. Backup Security: Protects against data loss by maintaining copies on your PC. Ease of Editing: PC software often provides more robust photo-editing capabilities. Understanding how to seamlessly move photos is an essential skill in our increasingly digital lives.
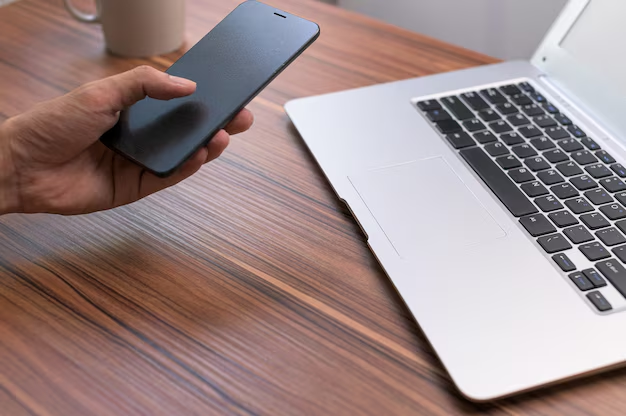
The Essentials: USB Cable Transfer
Getting Started with USB Transfers
Using a USB cable to transfer photos is arguably the most straightforward method. Here’s a step-by-step guide:
- Connect Your Devices: Use a compatible USB cable to connect your Android phone to your PC.
- Select Transfer Mode: On your phone, you might need to toggle the connection mode. Select "Transfer photos" or "MTP" (Media Transfer Protocol) when prompted.
- Access Your Photos: On your PC, open 'File Explorer' and locate your device under "This PC" or "Devices and drives".
- Copy and Paste: Navigate to the DCIM folder which houses your photos. Copy and paste your desired images to the PC location of your choice.
USB Transfer Tips
- Ensure your USB cable is in good condition to avoid disconnections.
- If your phone doesn’t prompt for connection type, check your settings under Developer Options and enable USB Debugging.
Wireless and Cloud Solutions
For those who prefer not to fuss with cables, consider wireless solutions.
Google Photos: Cloud Convenience
One of the most user-friendly cloud options is Google Photos. Here's how to leverage it:
- Backup Photos: Ensure your Android device is backing up photos to Google Photos. In the app, go to Settings > Backup & Sync and turn it on.
- Access and Download: On your PC, visit the Google Photos website and sign in. You can view, download, or organize photos directly.
Pro Tip: Google Photos offers generous free storage options, compressing images to save space without noticeable quality loss.
Bluetooth and Wi-Fi Transfer Apps
Bluetooth Transfers: Enable Bluetooth on both devices, pair them, and select photos in your gallery's Share menu to send via Bluetooth. Suitable for smaller batches due to slower speeds.
Wi-Fi File Transfer Apps: Applications like AirDroid or Pushbullet streamline the process via Wi-Fi, allowing for quicker transfers than Bluetooth. Just install the app on your Android, and use the web platform or desktop client on your PC.
Advanced Methods: Software Solutions
For tech-savvy users, specialized software can enhance productivity and control over transfers.
Android File Transfer for Windows
- Install Software: Download and install Android File Transfer software compatible with your PC.
- Connect: Connect your Android device using a USB cable and follow the software prompts.
- Transfer with Ease: The software interface typically features easy drag-and-drop functionalities for hassle-free transfers.
Using File Sharing Services
Services like Dropbox, OneDrive, and others can also facilitate photo transfers. Upload your photos from your phone app and download them through the PC app or website. Note: These services might require a subscription for extensive storage use.
Strategic Summary: Quick Transfer Tips 😎
- Using a USB cable? Enable MTP on your device and ensure USB Debugging is on for seamless connections.
- Google Photos: Set and forget! Automatically backup and access anywhere—all you need is internet access.
- Bluetooth: Great for a few photos—remember, it's a bit slow.
- Wi-Fi Apps: Instant setups like AirDroid can make transfers a breeze.
- Software Solutions: Invest in software like Android File Transfer for a streamlined experience.
Troubleshooting Common Issues
Even the best-laid plans can go awry. Here's how to troubleshoot common issues:
Connection Problems
- Device Not Recognized: Ensure drivers are up-to-date if using USB. Restart both devices and check the USB settings.
- Slow Transfers: Switch USB ports or try using a different cable.
Cloud Sync Concerns
- Slow Uploads: Verify internet connection strength. Large batches may benefit from a wired internet connection for the PC.
- Storage Limits: Consider upgrading storage plans on cloud services if you have extensive photo libraries.
Protecting Your Memories: Practical Considerations
With digital storage, vigilance is key. Regularly back up your photos to prevent losses due to theft, damage, or data corruption. Consider using a combination of methods to ensure redundancy—storing photos both on a physical drive and in a cloud service.
Final Insights
Transferring photos from your Android to a PC should be a routine, stress-free part of your digital life. Armed with effective strategies and solutions, you're prepared to preserve every memory your phone captures. By understanding and implementing the steps outlined here, you'll not only protect your photos but also improve their accessibility for future reflection and enjoyment. Prioritize regular transfers and backups to secure your visual history in an increasingly digital world.
Related Topics
- How Can I Transfer a Video From Iphone To Computer
- How Can I Transfer Apps From Iphone To Ipad
- How Can I Transfer Apps From One Iphone To Another
- How Can I Transfer Contacts From Iphone To Iphone
- How Can I Transfer Contacts From One Iphone To Another
- How Can I Transfer Data From Iphone To Android
- How Can I Transfer Data From Iphone To Iphone
- How Can I Transfer Data From Iphone To Samsung
- How Can I Transfer Files From Android To Pc
- How Can I Transfer From Iphone To Samsung